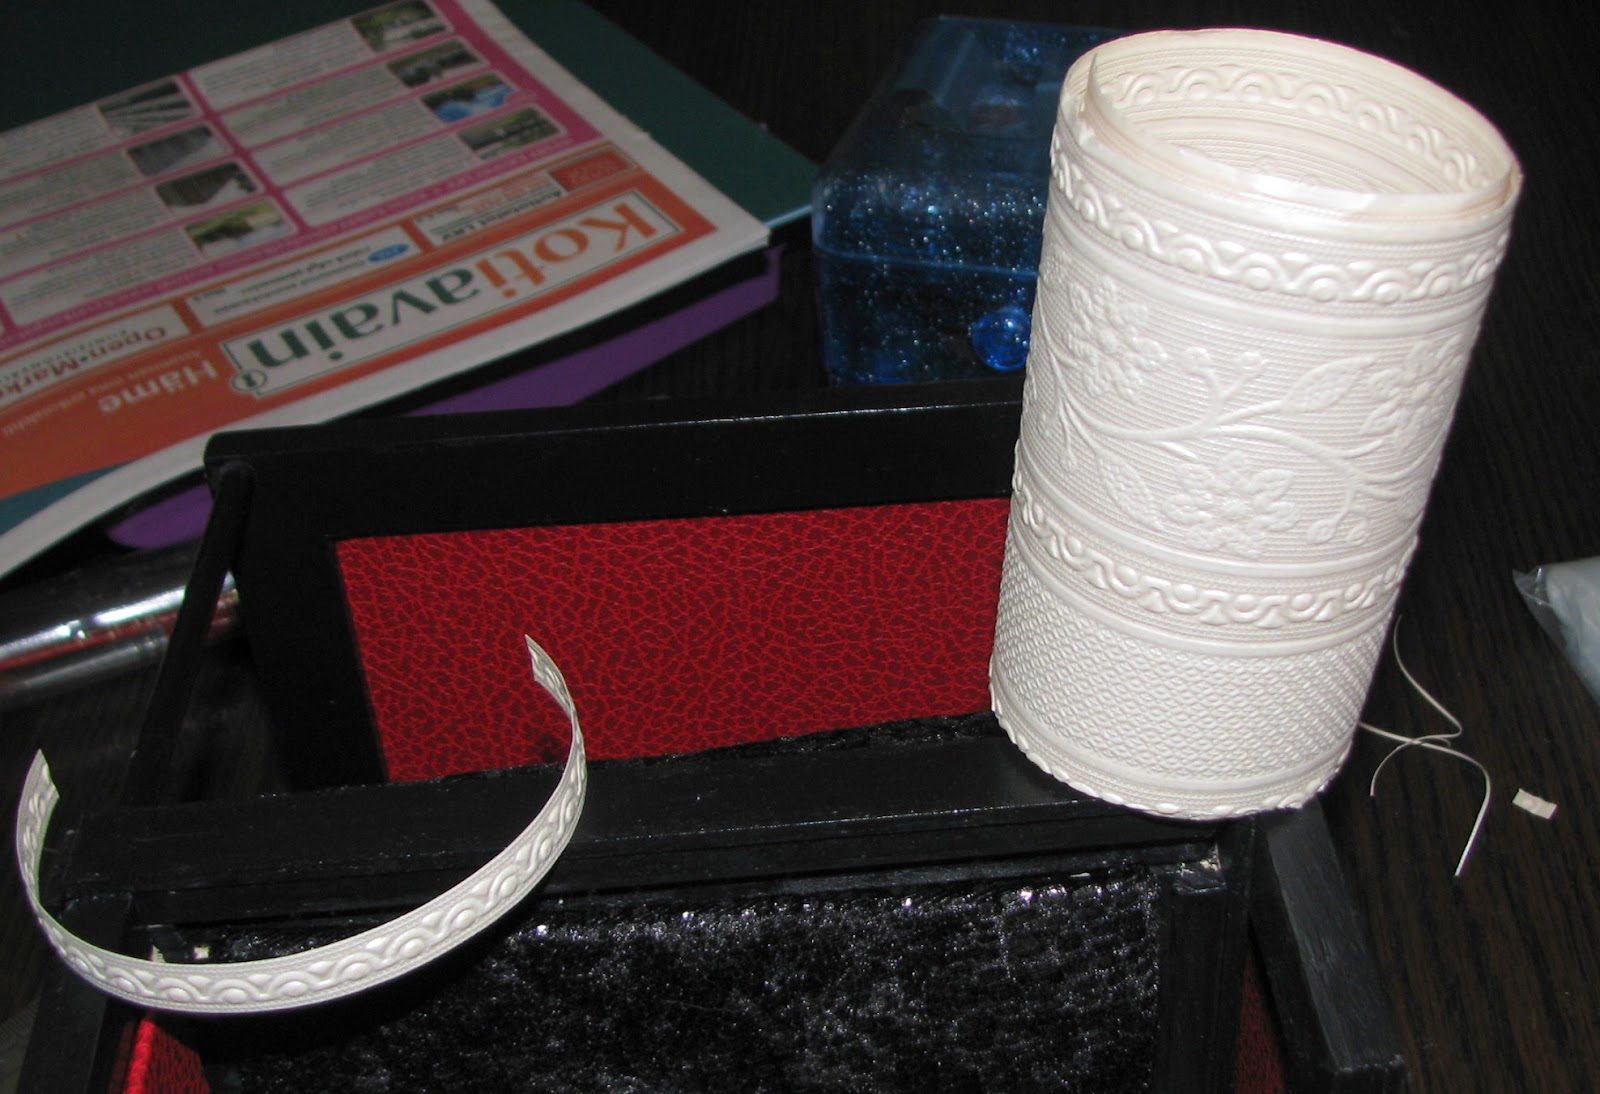
Oon viivytellyt Rookin takan koristelun kanssa, kun mikään ei ole tuntunut oikealta. Nyt lopulta otin itseäni niskasta ja päätin tehdä sen valmiiksi, tuli mitä tuli. Ensi töikseni leikkelin Greenleafin vinyylilaatoista tällaisen marmorisen kehyksen ja muovailin tuohon alas "puskurin" vanhasta rannekorusta:
I've been putting off decorating the Rook's fireplace because nothing felt right for the frame. Finally I decided to just do it, come what may. First I cut bits from Greenleaf's vinyl tiles to make a frame around the aperture and formed an old bracelet into a fender:
Sitten rupesin liimaamaan pari kumikäärmettä kehyksen ympärille:
Then I started gluing a couple of rubber snakes around the frame:
Lisäsin vähän korunosia, pääkallohelmiä sun muuta ja iskin takan sisään LED-tuikun, jonka vielä aion naamioida "haloilla":
I added some jewellery findings, skull beads, etc. and put a LED flame inside the fireplace - I still need to dress it with logs:
Tässä se on paikoillaan Rookissa. En oo oikein tyytyväinen, siitä tuli aika kökkö :/
Here it is in situ. I'm not very happy with it, it's kinda tacky :/
Showing posts with label Riddle's Rook. Show all posts
Sunday, March 3, 2013
Sunday, February 3, 2013
Takanteko jatkuu - Progress on the fireplace
Liimasin lisää kulmalistoja takkaan:
Glued in some more fillets:
Ja maalasin takan osat punasella graniitimaalilla - sutasin ne kahteen kertaan:
Then I painted the pieces with two coats of red granite paint:
Ja lopuksi maalasin koko höskän mustalla akryylimaalilla. Seuraavaksi täytyy miettiä niitä koristeita:
Finally I painted the whole shebang with black acrylic paint. Next I need to figure out how to adorn the fireplace:
Saturday, February 2, 2013
Takkaa takellellen - Fumbling with the fireplace
Tää takkaprojekti on taas malliesimerkki mun tuskallisen hitaasta näpertelyprosessista. Yön yli mietittyäni hylkäsin ensiversion, todettuani, että jos teen alakertaan kattoon asti yltävän sisälle tulevan hormin, täytyis sen jatkua yläkerroksiin, jossa se veisi liikaa tilaa. Joten, ei kun uutta runkoa väsäämään. Ja koska edellisen matskun työstäminen heppoisilla askarteluveitsillä oli niin hankalaa, kaivoin uuden version materiaaliksi kököistä lautapeleistä säästämiäni tukevia pelilautoja, joiden leikkaaminen on helpompaa mutta materiaali silti kyllin tukevaa.
This fireplace is again a perfect example of my painfully slow process. After sleeping on it (well, not literally) I decided to scrap the first version as I realised that if I put a full length chimney breast on the ground floor I'd logically have to continue that in the upper floors, which would needlessly take up valuable floor space. So, back to the drawing board. Since the material of the first version was difficult to cut with my piddly X-acto knife knock-offs, I switched materials. I've been saving the boards of cheap and particularly bad board games - they are easier to cut and still stiff enough, so I made the new version of the fireplace out of that.
Teippasin leikatut reunat siisteiksi.
I taped the cut sides to give them a clean edge.
Liimasin Tacky Gluen ja pikaliiman yhdistelmällä kulmalistoja ja niihin takan sivut.
I used a mixture of Tacky Glue and super glue to fasten fillets and the sides of the fireplace.
Tässä ollaan nyt - runko koottu, nyt se tarvii maalia ja koristeita, mikä tietää sitä, että istun pyörittelemässä eri koristeluvaihtoehtoja seuraavat pari päivää.... *vinhaa silmienpyöritystä*
This is where we're at now - the framework of the fireplace is done, now it needs paint and ornaments, which means I'll spend the next couple of days trying to decide how to adorn the thing... *frantic eyerolling*
Maalasin pari matskunpalasta nähdäkseni miltä pinta näyttää kun se on maalattu eri maaleilla. Taidan maalata takan ensin tuolla punasella graniittimaalilla ja sitten maalata sen päälle jollain muulla.
I painted a couple of leftover bits with different paints to see what the surface would look like. I think I'll paint the fireplace with the red granite paint and then paint over that with something else.
Leikkasin muutaman vihreän marmorilaatan (vinyylilaattoja) talteen takkaa varten.
I cut a few green marble tiles (vinyl) to use on the fireplace as well.
Tuesday, January 29, 2013
Rookia rukkaamassa - Raising the Rook
Pitihän se arvata. Löysin Griseldan tyhjästä Marvolo Manorista yllyttämästä taikayhteisöä kapinaan - palopuhe oli niin kiihkeä, että Ginnyllä nousi hiukset pystyyn! Ei auttaneet mun selittelyni 1:1 kiireistä, nyt vaadittiin vähän miniäksöniä!
I should've known. I found Griselda in the vacant Marvolo Manor inciting the magical community to an insurrection - her rhetoric was so fiery, it set Ginny's hair on end! My feeble explanations of a busy 1:1 life fell on deaf ears. Mini action was demanded!
Koska Voldemort on harvinaisen suostuttelukykyinen ("Kidutu!") päätin alottaa Riddle's Rookista. Se on projekteista pieninkin, joten kynnys siihen on matalin. Ja voi elämä mikä tohelo olen, ollappa pöytäsaha! Kesti nimittäin ainakin pari tuntia sahata sopivankokoiset palat Rookin kolmannen kerroksen seiniä ja kattoja varten... pikkuruinen käsisahani veti alvariinsa vinoon ja lopulta alotin alusta tavallisella käsisahalla. Joka tapauksessa, nyt on osat vihdoin sahattu.
Since Voldemort is particularly persuasive ("Crucio!") I decided to start with Riddle's Rook. It's the smallest of the current projects too, so easiest to brave. But lord what a klutz I am! I wish I had a table saw! It took at least a couple of hours for me to saw pieces for the Rook's third floor's walls and roof... my tiny handsaw kept veering off so I couldn't get a straight line and finally I ended up starting over using a regular handsaw. At any rate, now the walls and roof are ready for installation.
Onnettoman sahaussession jälkeen en luottanut taitoihini koota kolmatta kerrosta, joten siirryin suunnittelemaan Rookin takkaa, josta tulee iso, jotta sen kautta voi matkustaa hormiverkostossa. Suhersin takan pääpirteet ruutupaperille ja sitten hiilipaperin avulla pahville, sillä halusin ensin tehdä takasta pahvisen version, jota mallata paikoilleen helppoa hienosäätöä varten.
After the pathetic start I didn't trust myself to put together the third floor and started in on the Rook's main fireplace instead. It needs to be really big to allow for travel through the Floo Network. I sketched out the basic dimensions on grid paper and then transferred it to cardboard using carbon paper. This because I wanted to make a rough cardboard template of the fireplace before making the final version, so I could try fitting it into the Rook and make alterations as needed.
Tässä pahviversio takalle osotetulla paikalla. Voldemort hoputteli kylmästi lopettamaan viivyttelyn ja ryhtymään tositoimiin.
Here's the template in the spot where the final version will stand. Voldemort coldly urged me to stop procrastinating and get to it.
Meni silti vielä hyvä tovi kun pähkäilin mitä materiaalia käyttäisin. Pahvi tuntui liian heppoiselta, saha repi vanerin rumasti ja osa vanerista oli vääntynyt. Lopulta otin vanhan kehyksen taustan, mitä lie lastulevytavaraa, jotain vanerin ja tosi jäykän pahvin väliltä, ja siirsin taas takan ääriviivat siihen hiilipaperin avulla.
It took a while for me to decide on the material for the fireplace though. Cardboard felt too flimsy, my saw tore up the plywood and some of it was warped to begin with. Finally I grabbed the back of an old frame, some kind of woodlike stuff somewhere between plywood and stiff, thick cardboard. Out came the carbon paper again as I used it to trace the silhouette of the fireplace onto the "wood".
Tässä tulos. Parasta olis ollut keskittää toi kuva niin, ettei sen kohdalle olis osunut noita reikiä, mutta lykkäsin sen levyn laitaan koska saha ei toiminut tuon matskun kanssa ja askarteluveitsellä kesti ikuisuuksia kaivertaa takka irti levystä ja näin säästin vähän vaivaa. Minäkö laiska ;)
Here's the result. The best thing would've been to center the scetch to avoid those holes, but my saw was not good for this material and it took forever to carve it out with an X-acto knife and this way I saved some time and bother. Lazy? Who, me? ;)
Tähän jäätiin, takan runko hyvällä alulla.
This is where I left off, more tomorrow.
Sunday, July 1, 2012
Voldyn sänky miltei valmis - Voldy's bed nearly completed
Voldemortin sänky on miltei valmis, vielä on tekstiilejä lisättävänä. Tässä päivän väkerrysten tulos.
Voldemort's bed is nearly completed, just some hangings and pillows to be added. Here's an update on the progress.
Tästä lähdettiin:
This was the starting point:
Seuraavat vaiheet:
The next phases:
Sängyn pelkistettyyn runkoon piti saada runsaasti "puuleikkauksia" ja materiaalilaatikoista löytyi siihen sopiva tapettipätkä, josta leikkasin tarvitsemani kohokuviot ja liimasin ne paikoilleen.
The simple bed frame needed lots of "wood carvings" and among my materials I found a bit of suitable wallpaper, from which I cut out the embossed bits I needed and glued them to the frame.
Maalasin tapettikohdat mustalla akrylimaalilla.
I painted the bits of wallpaper with black acrylic paint.
Näitä maalattuja tapettikoristeita laitoin runsaasti ympäri sänkyä ja lakkasin ne maalauksen jälkeen matalla lakalla. Sängyn katoksen päälle liimasin vanhoja shakkinappuloita koristeiksi. Mietin kyllä ovatko liian selkeesti shakkinappuloita, mutta mielestäni eivät? Päätyyn pikaliimasin hopeisen käärmeriipuksen ja jalkopäädyn tolppien ympäri kiedoin kirpparilta ostamani kumikäärmeet ja liimasin ne pikaliimalla haluamaani muotoon.
I glued on lots of these painted wallpaper bits and finally topped them with matte varnish. 4 old chess pieces serve as "spires" on top of the canopy - I was worried that they might be too obviously chess pieces but I think not? I glued a silver cobra on the headboard and finally entwined two rubber snakes (bought at the fleamarket) around the posts at the foot of the bed, using Super Glue to drape them the way I wanted.
Oon äärettömän tyytyväinen lopputulokseen! Siitä tuli juuri sellanen kuin olin haaveillut. Vielä kun osaisi viimeistellä sen kauniisti tekstiilein!
I'm immensly pleased with the result! It turned out just the way I'd imagined it. Now I just hope I can add the fabrics properly!
Thursday, June 7, 2012
Voldmortin sänky - Voldemort's bed
Hitaasti mutta varmasti väkerrän Voldemortin sänkyä - homma on vielä kesken, mutta aattelin vähän kartottaa syntyvaiheita. Tässä kuosissa ollaan nyt:
Slowly but surely I'm building Voldemort's bed - it's not finished yet, but I thought I'd chronicle the progress so far. This is how it looks now:
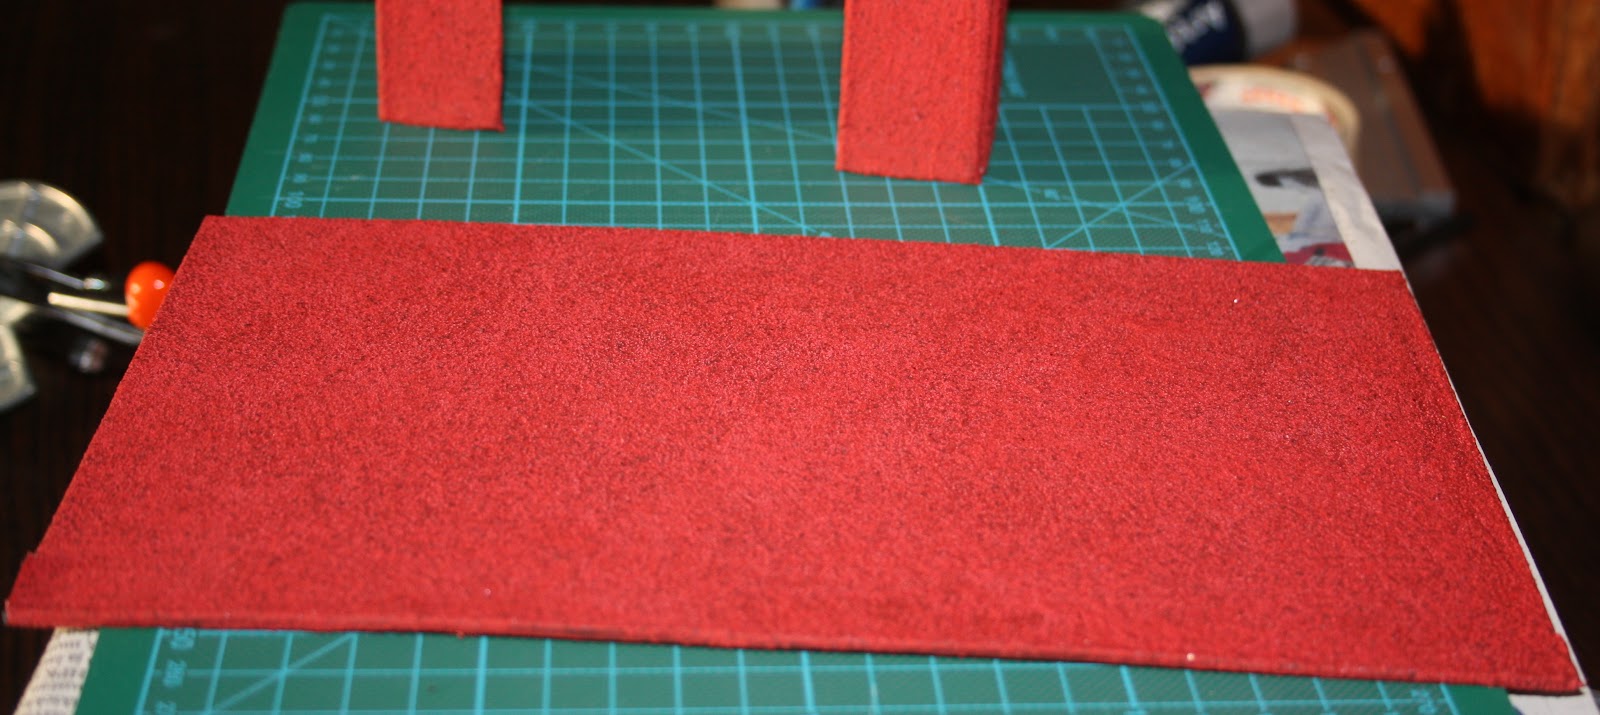
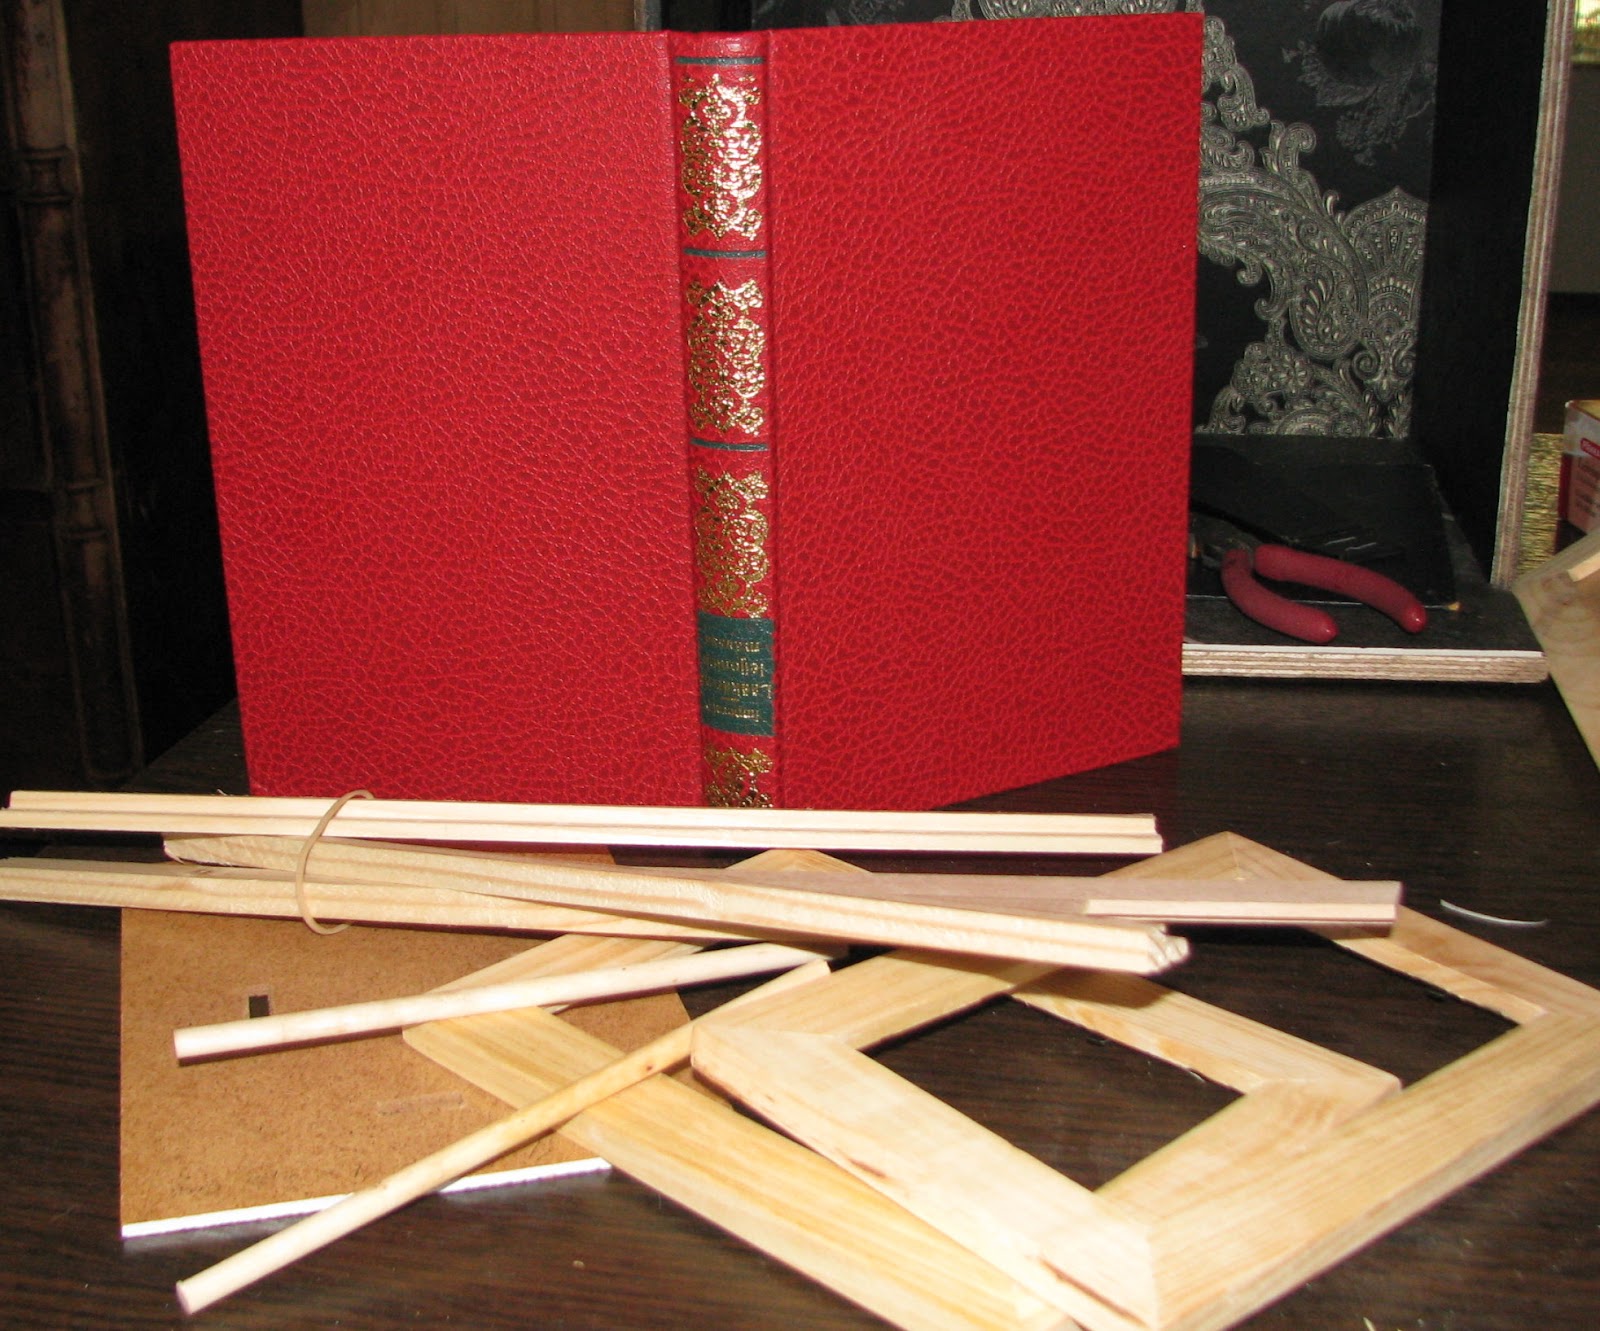
Tästä lähdettiin - kirjan kannet, Bilteman sytykkeitä, kulmalistaa, kaks pyöreetä mehujäätikkua, kahdet puukehykset, joista poistin lasit ja taustat, sekä kolmannesta toisenlaisesta kehyksestä irrotin taustan sänngynpohjaksi:
Here's the starting point - book covers, kindling (from Biltema, very neat, sanded and sturdy), fillets, two round popsicle sticks, two wooden frames (from which I removed the glass and back) and the back from a third frame of a different model:
Sängyn pohja on vanhan kehyksen tausta, johon liimasin kulmalistat ja sytykkeistä tehdyt reunat:
The bottom of the bed is the back of an old frame, to which I glued fillets and sideboards made of kindling:
Maalasin koko systeemin mustalla akrylivärillä ja lakkasin puolihimmeellä kalustelakalla:
I painted the whole thing with black acrylic paint and finished with semi-matt furniture varnish:
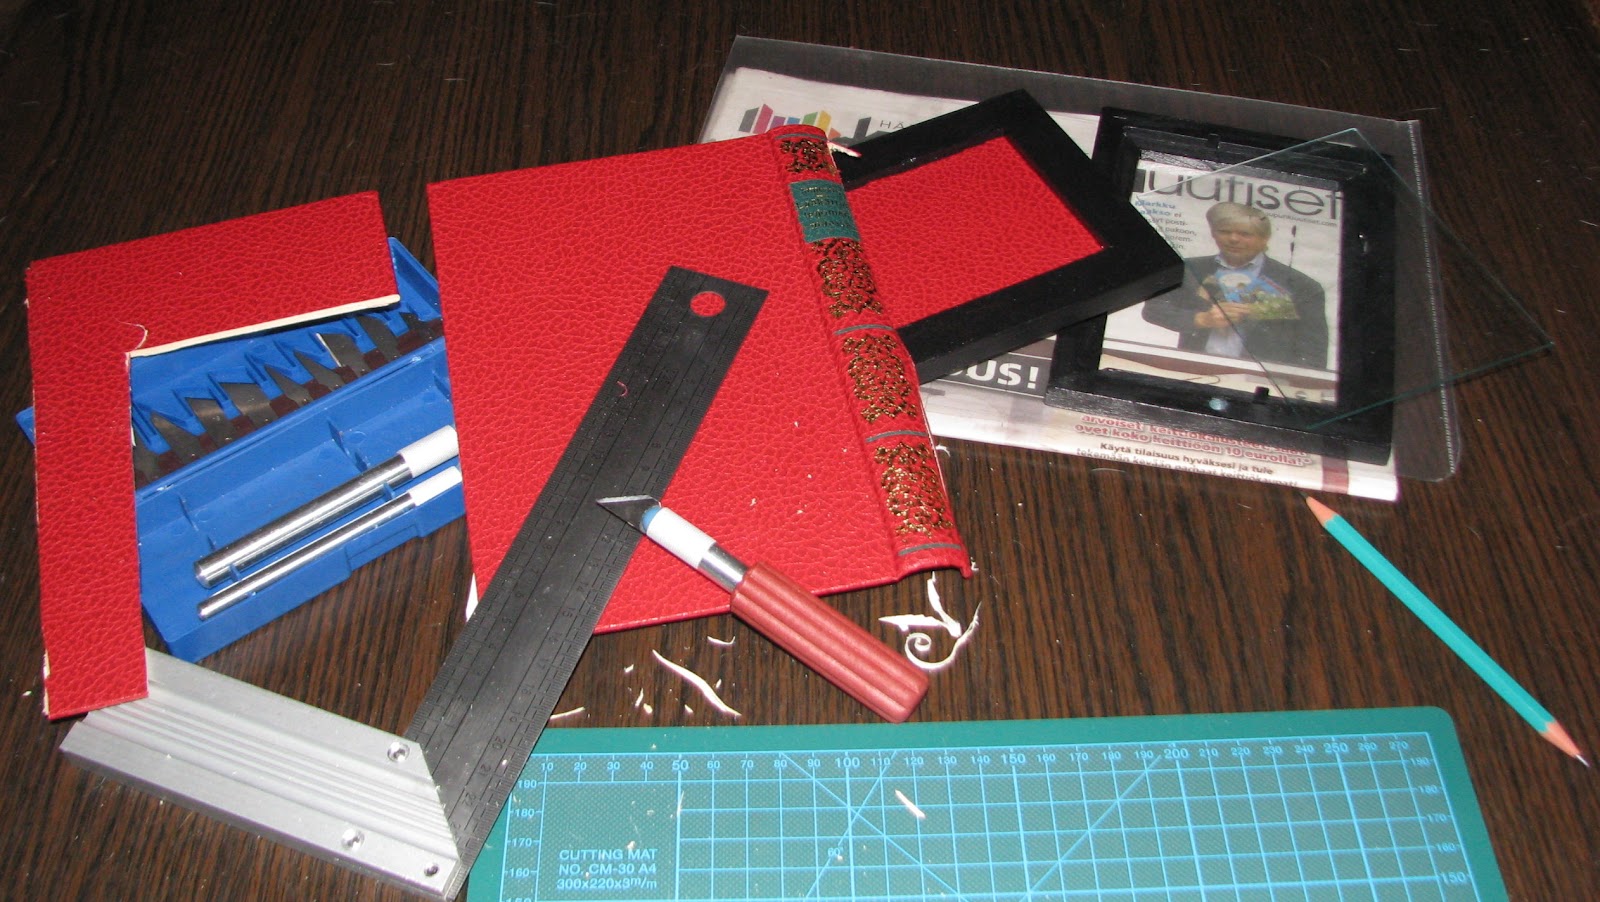
Käsittelin puukehykset samalla tavoin ja leikkasin askarteluveitsellä niihin sopivat keskustat kirjan kansista:
I treated the wooden frames the same way and used a craft knife to cut suitable centers for them from the book cover:
Kas näin:
Thusly:
Leikkasin sopivankokoisen pahvinpalasen, jonka päällystin tollasella ohuella pehmikkeellä:
I cut out a suitably sized piece of cardboard and glued this soft, thin packing material on it:
Ostin aiemmin kirpparilta jakun, jonka kangas on käärmekuvioista. Siitä leikkasin sopivan palan ja päällystin kevysti pehmustetun pahvinpalasen sillä ja kiinnitin kankaan pahvin taustaan kömpelösti Tacky Gluella ja maalarinteipillä :D
A while back I bought a snakeskin patterned shirt from the fleamarket. I cut out a piece of the fabric and used it to cover the lightly upholstered cardboard, then clumsily attached the fabric to the back using Tacky Glue and masking tape :D
Kokosin sängyn erinäisten kehysten osista ja mehujääpuikkoja käyttäen, liimasin kevyesti topatun ja päällystetyn pahvinpalasen katoksen päälle ja tein sitten samalla tavalla paksumman patjan:
I assembled the bed from the various frames and popsicle sticks, glued the lightly upholstered cardboard on the top of the canopy and then made a mattress using the same technique but with more stuffing:
Katos ja sängynpääty siis noita kirjan kannella koristeltuja kehyksiä (olisko Ikean? Kirpparilta nekin, kolme eurolla). Samanlaisista kehyksistä sahasin palasen jalkopäädyksi ja laitoin siihenkin kirjan kannen osia molemmin puolin. Tolppina on tietenkin ne mehujääpuikot, jotka nekin maalasin ja lakkasin. Täytyis kyllä saada joku pikkupora että vois tehdä puuliitoksia, nyt kaikki on liitetty ihan vaan pikaliimalla:
The canopy and headboard are of course frames (Ikea's maybe? From the fleamarket, three for a euro) decorated with bits of book cover. The third identical frame I sawed to fit at the end of the bed and fitted that too with the book cover on both sides. The posts are of course from painted and varnished popsicle sticks. I really hope to get a small drill at some point so I could assembly stuff like this with wood fittings/joints, now everything is held together with Super Glue:
Oon kyllä onneton tunari, vaikka kuinka mittailin niin silti meni vinoon *vinhaa silmien pyöritystä*
I really am hopeless though, however much I measured I still managed to make it a bit crooked *lots of eye rolling*
Tässä ollaan siis nyt, sängynrakennus jatkuu...
So this is where we're at, the bed building continues...
Subscribe to:
Posts (Atom)